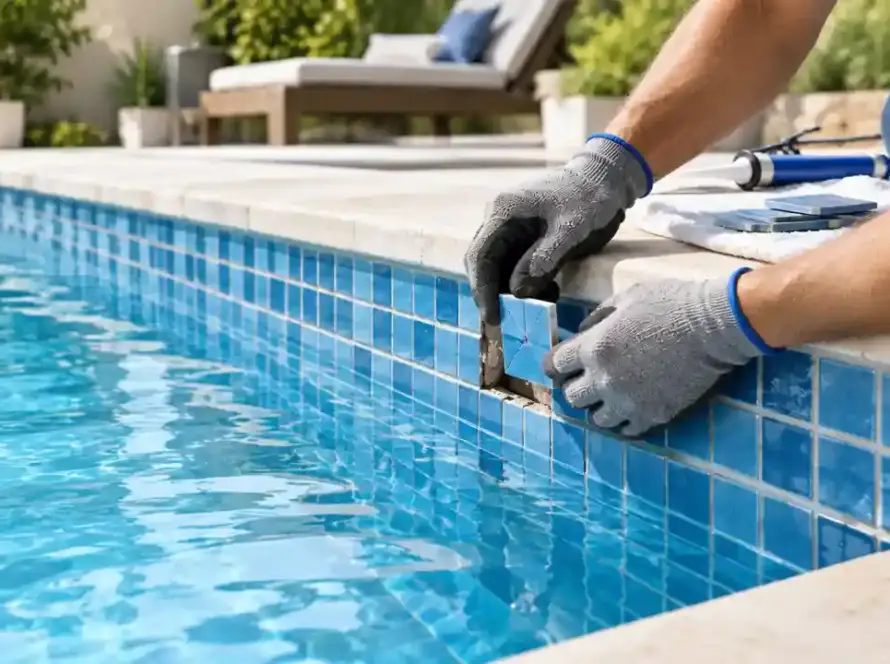
Mosaic tile installation looks simple once it is on the wall, but cutting the sheets is where most problems start. On job sites across the US, installers and contractors deal with cracked glass pieces, loose mesh backing, and uneven edges when cuts are rushed or done with the wrong setup. Mosaic sheets behave differently compared to standard ceramic or large format tiles, so the cutting approach has to be more controlled and technical.
Whether you are a homeowner working on a backsplash or a contractor handling multiple installs, clean cutting comes down to understanding material behavior, using the right blade, and supporting the sheet correctly during every stage of the cut.
Why mosaic tiles crack during cutting
Mosaic tiles crack mainly because of uneven pressure. Since the pieces are small and mounted on mesh, even slight bending during cutting creates stress points. Glass mosaics are especially sensitive because they do not absorb vibration well.
Another common issue is forcing the material through the blade too quickly. When the feed rate is too fast, the diamond blade cannot clear debris properly, which leads to chipping along edges. Dry cutting also increases heat, and heat expansion causes micro cracks that show up later during installation.
Poor support underneath the sheet is another major reason. If one side of the mosaic sheet is hanging or flexing, the tiles shift on the mesh and break alignment. Most cracking problems are not from the blade itself but from how the sheet is handled during the cut.
Professional tools used for clean mosaic cutting
Installers rely on a few consistent tools depending on the material type.
A wet tile saw with a continuous rim diamond blade is the most reliable option. It controls heat, reduces friction, and gives a clean edge suitable for both ceramic and porcelain mosaics.
Tile nippers are used for detail work. They help shape small sections, trim corners, and adjust edges where a saw cannot reach. Contractors often use them during fitting work around outlets or curved layouts.
For glass mosaics, a high quality diamond blade paired with constant water flow is essential. Some installers also use angle grinders for small corrections, but only when precision control is possible.
Supporting tools matter too. A rubbing stone or diamond hand pad is always used for finishing edges. Painter’s tape is another simple but important tool that reduces surface chipping before cutting begins.
Preparing mosaic sheets before cutting
Preparation is where professional installers separate clean work from damaged material.
Mosaic sheets should always stay on their mesh backing during cutting. Removing tiles before cutting creates alignment issues and leads to uneven spacing during installation.
The sheet should be placed on a flat, rigid surface. Any bending in the material increases the risk of cracking during the cut. On larger job sites, installers sometimes tape the back of the sheet to a thin board or cardboard to stabilize it.
Marking the cut line is done in layers. First, the line is drawn on the tile surface. Then painter’s tape is applied over the mark, and the line is redrawn on the tape. This reduces surface damage and gives the blade a cleaner entry point.
A dry layout check is also common practice among contractors. This ensures that cuts are planned around visible areas, avoiding unnecessary cuts through highly detailed mosaic patterns.
Wet saw cutting method used by installers
The wet saw method is the most controlled and accurate way to cut mosaic sheets on professional sites.
A sharp diamond blade should always be used. Dull blades cause vibration, which leads to micro chipping. Water flow must remain steady throughout the cut to control heat and flush out tile dust.
The sheet should be fed slowly into the blade without forcing it forward. The goal is to let the blade pass through the material at its own pace. Contractors often say that speed is the main reason mosaic cuts fail.
Both sides of the sheet must be supported close to the blade. If the material dips even slightly, tension builds across the mesh and tiles begin to separate. For long sheets, breaking them into smaller sections before cutting is standard practice.
This method works for ceramic, porcelain, and most stone mosaics, and it is also the safest option for consistent job site results.
Tile nipper technique for detailed work
Tile nippers are used when precision trimming is needed instead of full sheet cutting.
Installers usually indicate the portion to be removed and proceed step by step starting from the edge.Instead of breaking a piece in one motion, small controlled bites are taken. This reduces stress on surrounding tiles and keeps the mesh intact.
This method is useful around plumbing fixtures, electrical boxes, and irregular wall edges where a wet saw cannot reach. After nipping, edges are usually uneven, so finishing with a rubbing stone is part of standard practice.
While nippers are useful, professionals avoid using them for long straight cuts because they can distort spacing if too much pressure is applied.
Handling glass mosaic tiles without damage
Glass mosaics require more control compared to ceramic or stone.
A continuous rim diamond blade is mandatory for clean cuts. Any rough or segmented blade increases the risk of edge chipping. Water cooling should remain constant because heat buildup is one of the main causes of glass fracture.
Painter tape applied on both sides of the cutting line helps hold the surface tension of the glass. This reduces small edge fractures that often appear after installation.
The feed speed should be slower than ceramic cutting. Any pause mid-cut should be avoided because stopping creates uneven pressure points.
On large installations, experienced installers often test cut a spare strip first to confirm blade condition and cutting speed.
Maintaining mesh alignment during cutting
The mesh backing plays a bigger role than most people expect.
If the sheet bends or stretches during cutting, tile spacing becomes uneven. This leads to installation gaps that are difficult to correct later. Keeping the sheet fully supported on a flat surface prevents this issue.
For large mosaic panels, cutting into smaller sections before final trimming is a standard field practice. This reduces movement and keeps the structure stable during handling.
Installers also avoid cutting through weak mesh joints whenever possible. Planning cuts around stronger points helps maintain sheet integrity.
Edge finishing after cutting
Cut edges should never be installed without finishing.
A rubbing stone or diamond hand pad is used to smooth sharp edges and remove small chips. This step improves both safety and visual quality once installed.
Any leftover mesh strands or adhesive residue should be cleaned before placement. Dust or loose fibers can affect tile bonding during installation.
A dry fit test is often done before final adhesive application. This ensures the cut piece aligns properly with surrounding tiles and avoids adjustments after setting.
Organize information in a structured format
| Topic | Description | Key Benefit |
| Mosaic Tiles | Small decorative tiles used in design patterns | Aesthetic flexibility |
| Installation | Process of placing tiles on surfaces | Ensures durability |
| Professional Help | Skilled labor for accurate tile placement | Better finish and alignment |
Common job site mistakes to avoid
Most mosaic cutting problems come from basic errors that are easy to avoid.
- Rushing the cut is the most common issue, as fast feeding leads to vibration and chipped edges.
- Using a dull blade is another frequent mistake, especially with glass mosaics where precision is critical.
- Skipping support under the sheet can result in cracked tiles halfway through the cut.
- Not using painter’s tape increases the risk of surface damage.
- Forcing tile nippers instead of applying gradual pressure causes uneven breaks in the sheet.
Professional installers prioritize control over speed, especially when working with detailed mosaic patterns.
Conclusion
Cutting mosaic tiles without damage is less about force and more about control. The material reacts quickly to pressure changes, so every step matters, from preparation to final edge finishing. When the right tools are used and the sheet is properly supported, clean and accurate cuts become consistent even on complex layouts.
Contractors and installers who follow structured cutting methods usually see fewer installation issues and better long term results.
For professional tile work and reliable installation support, Getz Tiles is the go-to choice for the best mosaic tile installer in las vegas.
Frequently Asked Questions
Do you always need a wet saw for mosaic tiles?
A wet saw is usually the go-to tool for clean mosaic cuts, especially on glass or porcelain. It keeps the blade cool and reduces vibration, which helps avoid those annoying chips and cracks. For most professional work, it’s the safest and cleanest option.
What actually stops mosaic sheets from breaking while cutting?
It mostly comes down to support and patience. The sheet needs to stay completely flat while cutting. If it bends even a little, tiles can shift or crack. Many installers also use painter’s tape over the cut line because it helps hold everything together and reduces edge damage.
Why do mosaic tiles still crack even with good tools?
This usually happens when the pressure isn’t balanced. Feeding the sheet too quickly, letting it sag, or using a dull blade can all cause stress points. Glass mosaics are even more sensitive, so they need a slower, steadier approach to avoid tiny fractures that show up later.
Can tile nippers handle full mosaic sheet cuts?
Not really. They’re fine for small touch-ups, corners, or shaping around outlets, but they’re not built for long straight cuts. Using them for full sheets can mess up alignment and make the edges uneven. Wet saws handle those jobs much better.
Why does mesh backing matter so much during cutting?
That mesh is what keeps all the tiny tiles aligned. If it tears or shifts while cutting, the spacing goes off, and the sheet won’t sit right during installation. Most installers avoid disturbing it until the very end to keep everything stable.
What are the mistakes people make most often when cutting mosaics?
Rushing is probably the biggest one. Cutting too fast or pushing the sheet through the blade forces cracks. Another common issue is not supporting the sheet properly, which lets it flex. Skipping painter’s tape or using a worn blade can also lead to rough, chipped edges.
Is it possible to cut mosaic tiles without a wet saw?
Yes, but only for small adjustments. Tile nippers or manual cutters can work in tight spots or for minor trimming. For anything long or precise, though, a wet saw is still the most reliable choice if you want clean results.
Is professional installation necessary for mosaic tiles?
They don’t always, but mosaics are tricky compared to regular tiles. The small size, fragile edges, and mesh backing make mistakes more noticeable. That’s why many homeowners and contractors prefer experienced installers for cleaner alignment and longer-lasting results, especially on visible surfaces like backsplashes and feature walls.